How to Automate Your Email Outreach With Wobaka CRM


Email outreach can send a lot of hours down the drain and this can be very hurtful if you're a small team trying to get things done. Instead of wasting hours on manual outreach you can now put your sales on autopilot and step back in control when it's needed. Let's see what that looks like in Wobaka.
Getting started
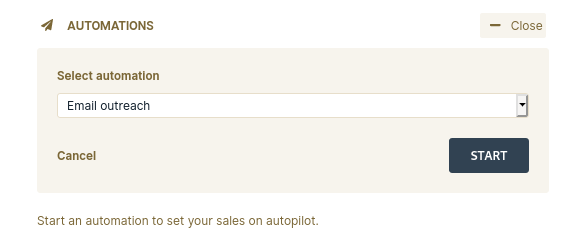
If you go to a contact you'd like to reach out to and click "New" on the automations section you'll see this dialog box:
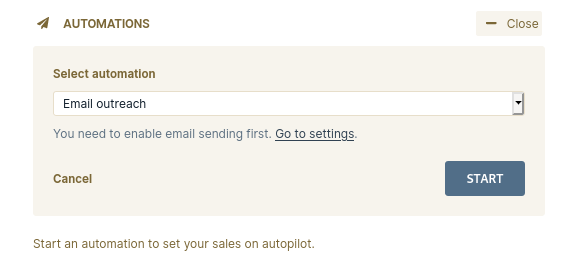
This just means that to use automations you need to setup your email SMTP settings which allows us to send emails from you. Head over to the settings page and click "Email settings".
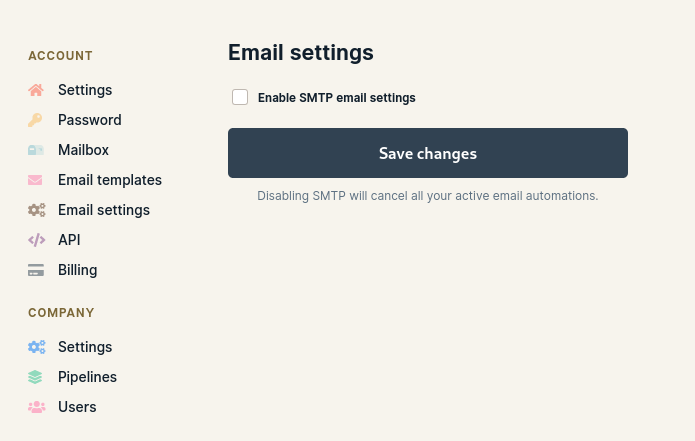
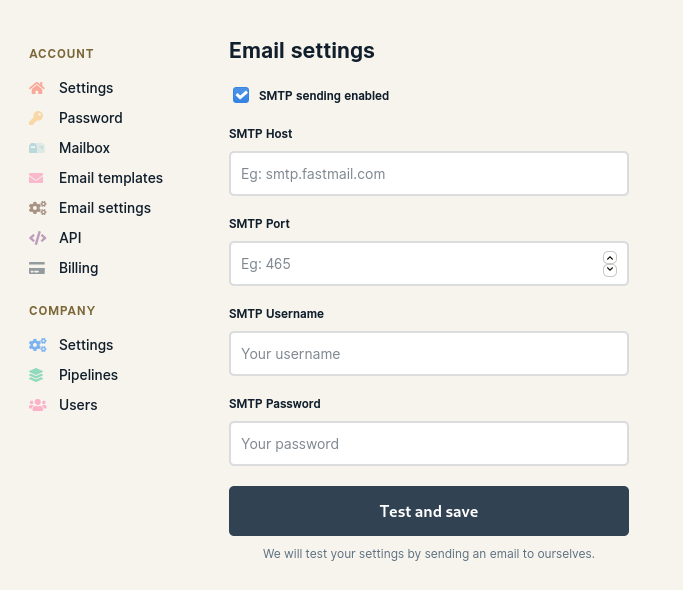
Click enable SMTP email settings and enter your credentials. Press save. If everything checks out you'll soon be able to send emails with Wobaka. If not, something went wrong or you might have entered the wrong credentials. Settings for common providers:
Gmail
- Host: smtp.gmail.com
- Port: 465
- Username: Your email
- Password: Your password, or app password for Gmail
More: https://support.google.com/a/answer/176600?hl=en
Fastmail
- Host: smtp.fastmail.com
- Port: 465
- Username: Your email
- Password: Your app password for Fastmail.
More: https://www.fastmail.com/help/clients/defineimap.html
Create an email template
You'll be using email templates in automations which you can customize on each automation during setup. To create your first template, go to settings and click "Email templates".
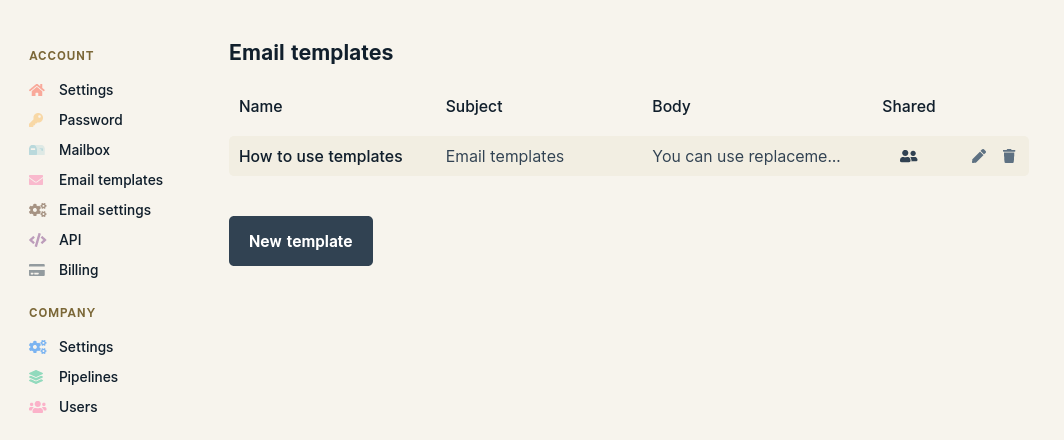
Click "New template" and fill out the form. You can use merge tags like {{contact.first-name}} to personalize your emails. Hit save when you're done.
Create an automation
Let's create an email sequence automation. This is what we want the automation to do:
- Send an email
- Wait 3 days
- Send another email
And we want it to only send emails on Monday to Friday.
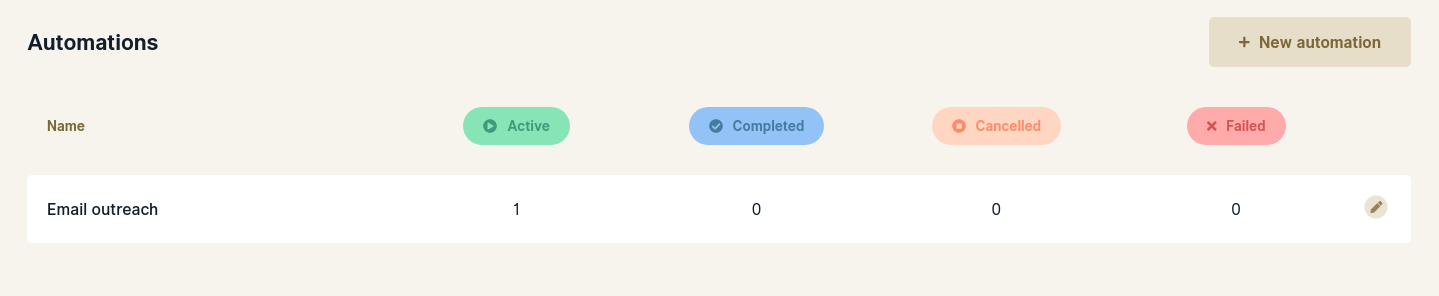
Head over to automations and you'll see this:
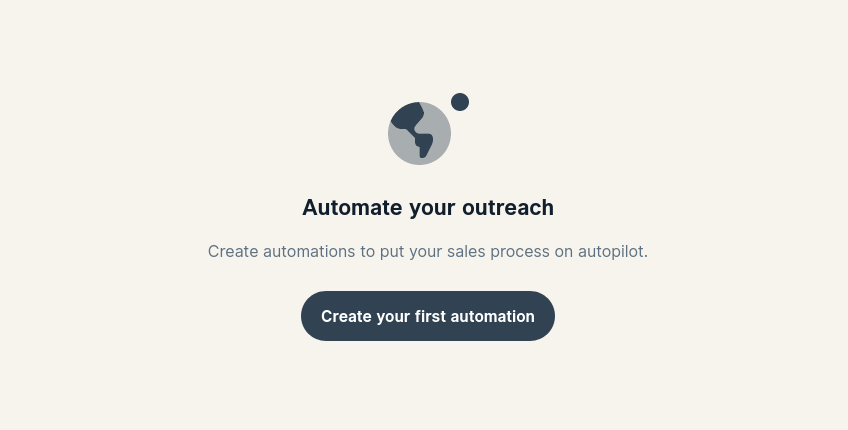
We have no automations setup, so let's go ahead and create one by clicking that big button.
First we have to fill in some basic information about the automation. Name can be whatever you like and the sending schedule determines if we should send emails on work days only or not.
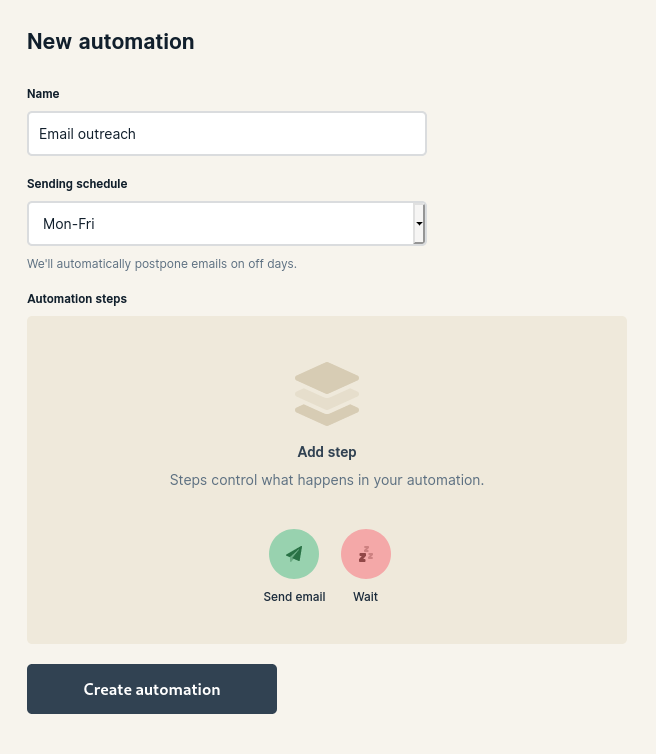
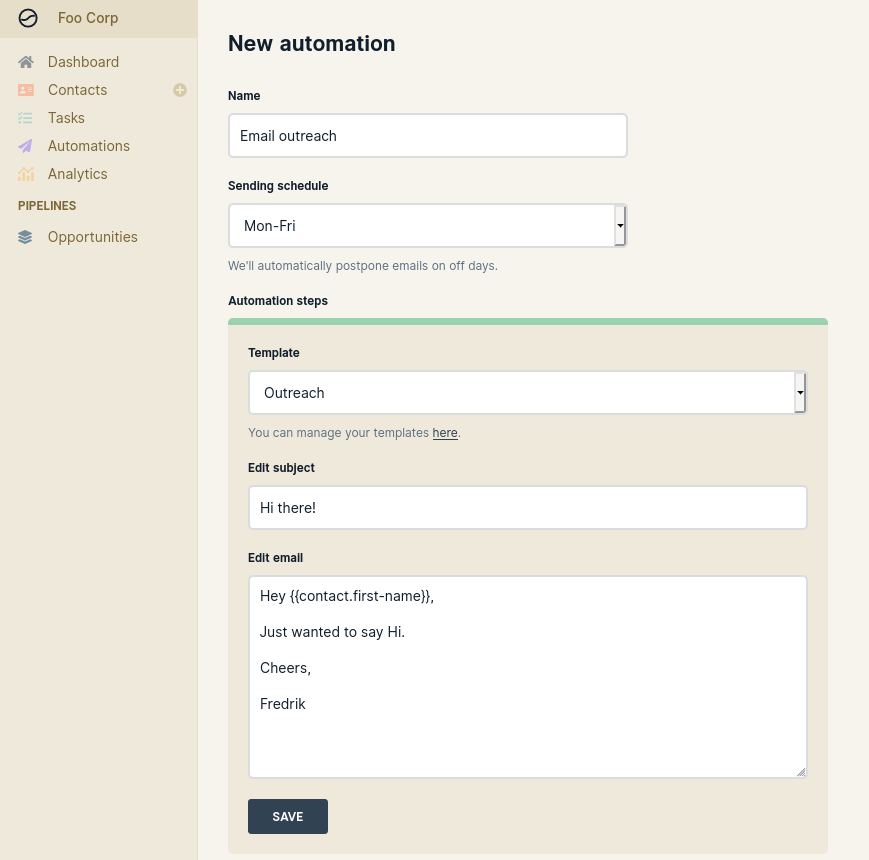
Let's add our first step. Feel free to customize the email here, you don't have to use the template as is.
Now, add a wait step. We don't want all emails to be sent at the same time.
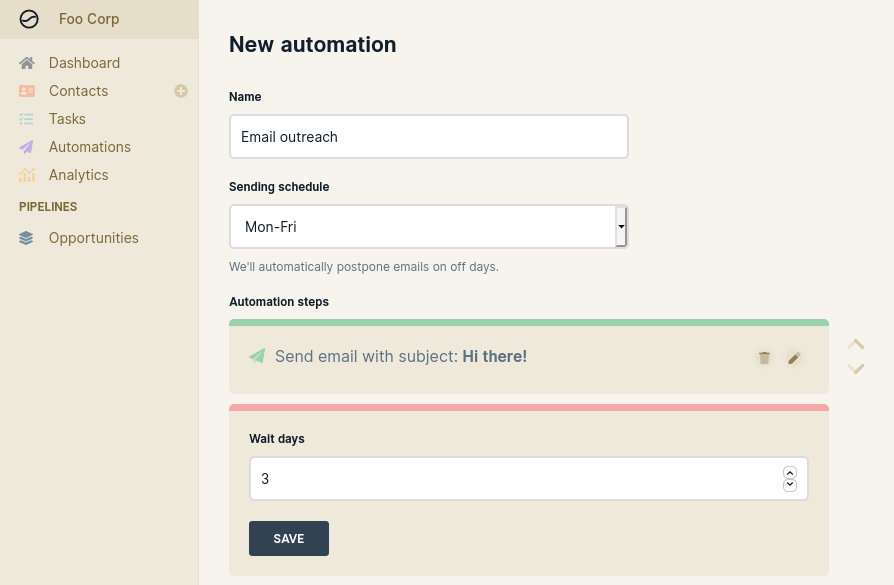
Repeat those steps to schedule another email. Hit save when you're done. Now it's time to send!
Start an automation
Navigate to the contact page of whomever you'd like to send your sequence to. Look for the "Automations" section just under contact information. If you click the "New" button you'll see this dialog and since you've already setup your email the button should be enabled. This means that we are ready for take off!
After clicking start you'll see pending messages appearing in your contact's message feed. After being sent they'll turn white.
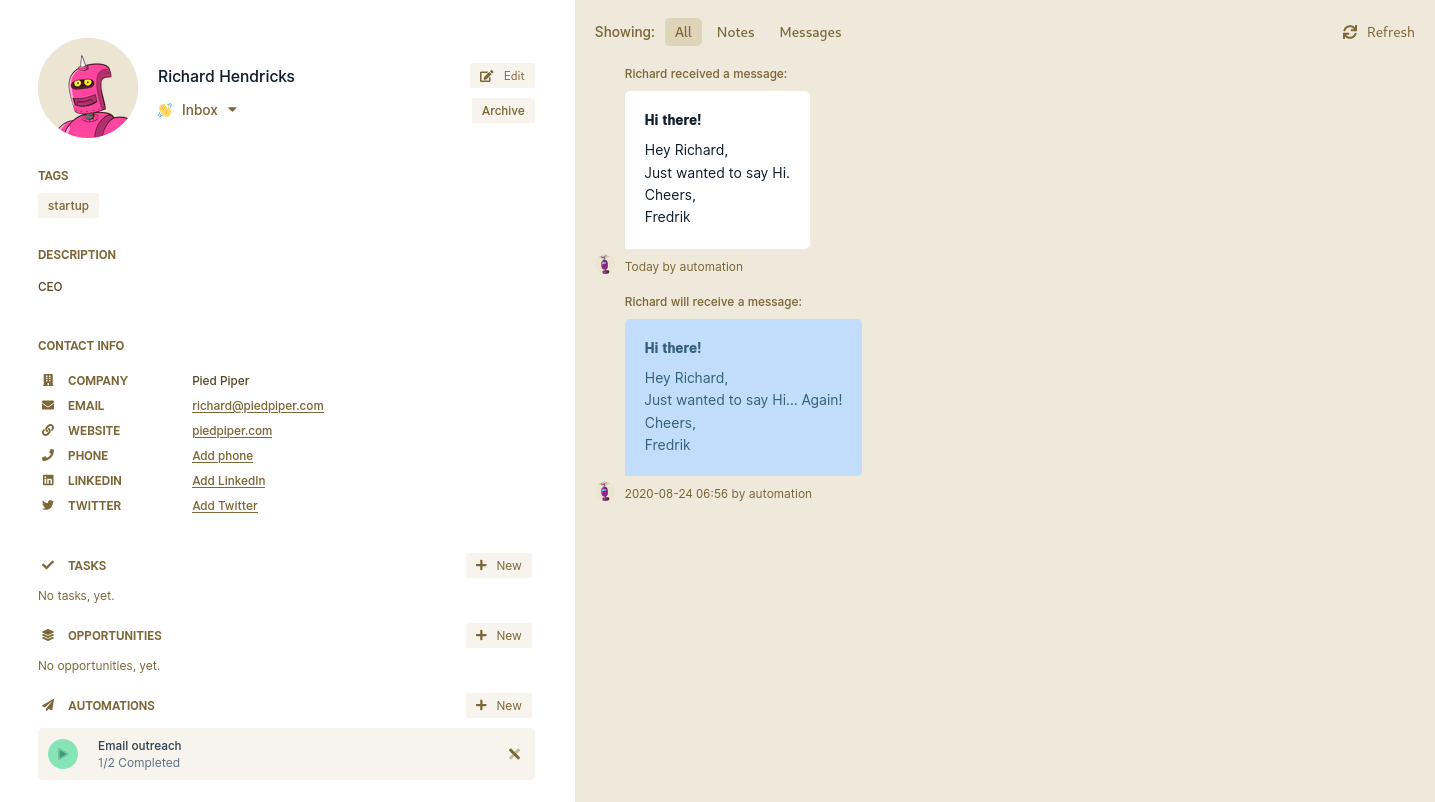
Whenever you get a reply from someone and want to step out of autopilot and take over control. Just click Cancel ❌ on the automation and it won't send any more emails in that sequence.
Analytics
You can find some analytics and information for each automation on the automations page.
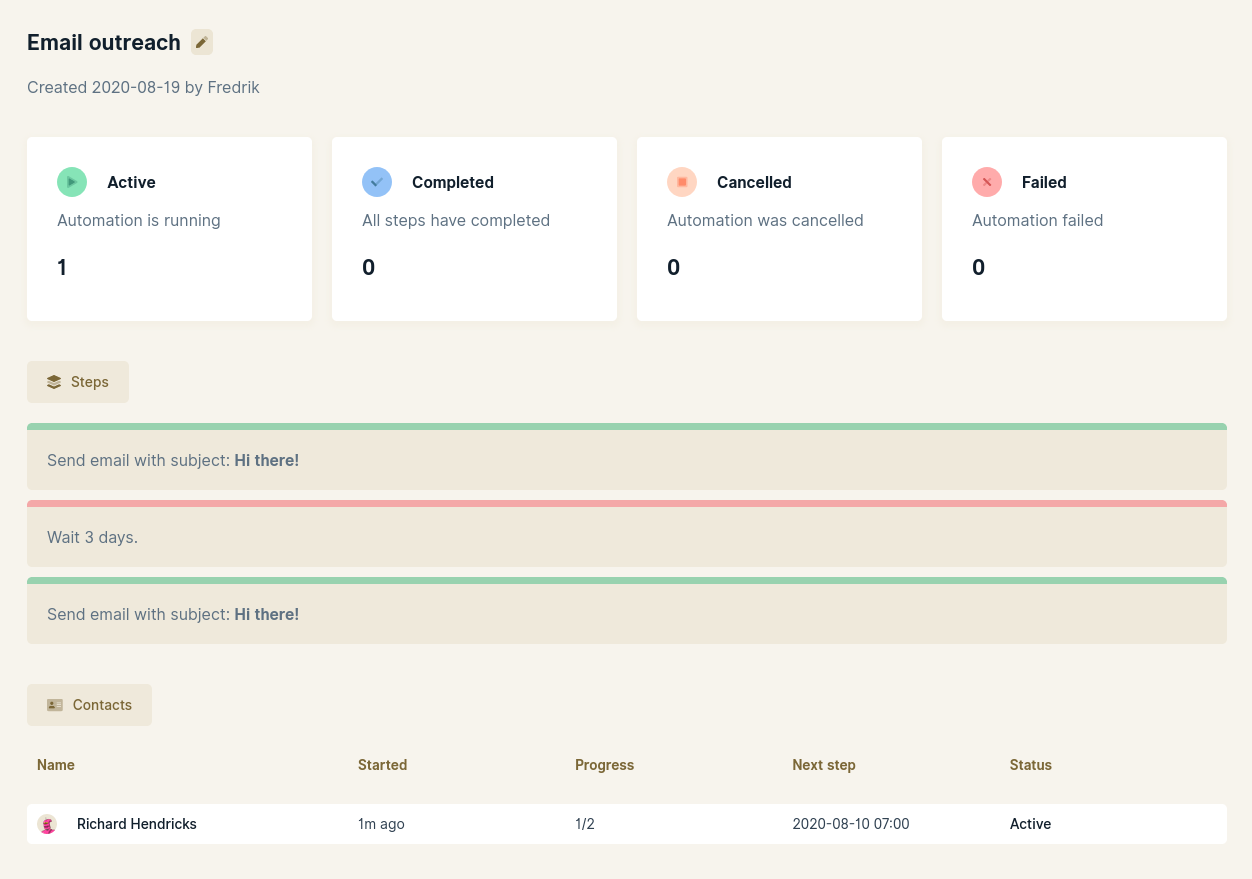
For more details, click on the automation. Here you'll find some statistics like active, completed, cancelled and failed. You'll also find a list of contacts and their progress.
That's it!
That's how you use email automations on Wobaka. I hope it'll save you lot's of hours, allow you to focus on more important things and eventually to close more deals 🎉.
Thanks for reading!
