Automate your email outreach
Email outreach takes time. Start by sending 10 emails a day and after a while you're doing 100 emails a day just to keep up with your follow ups. We've got another idea: Set your outreach on autopilot and step back in control when it's needed. This is how you get started.
Setup your automation
Once you've setup your templates head over to Automations in the main menu and click the "New automation" button.
- Start by picking a name for your automation. For example: Outreach.
- Set your sending schedule by chosing if you want emails to only be sent on Monday-Friday or on all days of the week. We'll automatically account for this when scheduling the emails.
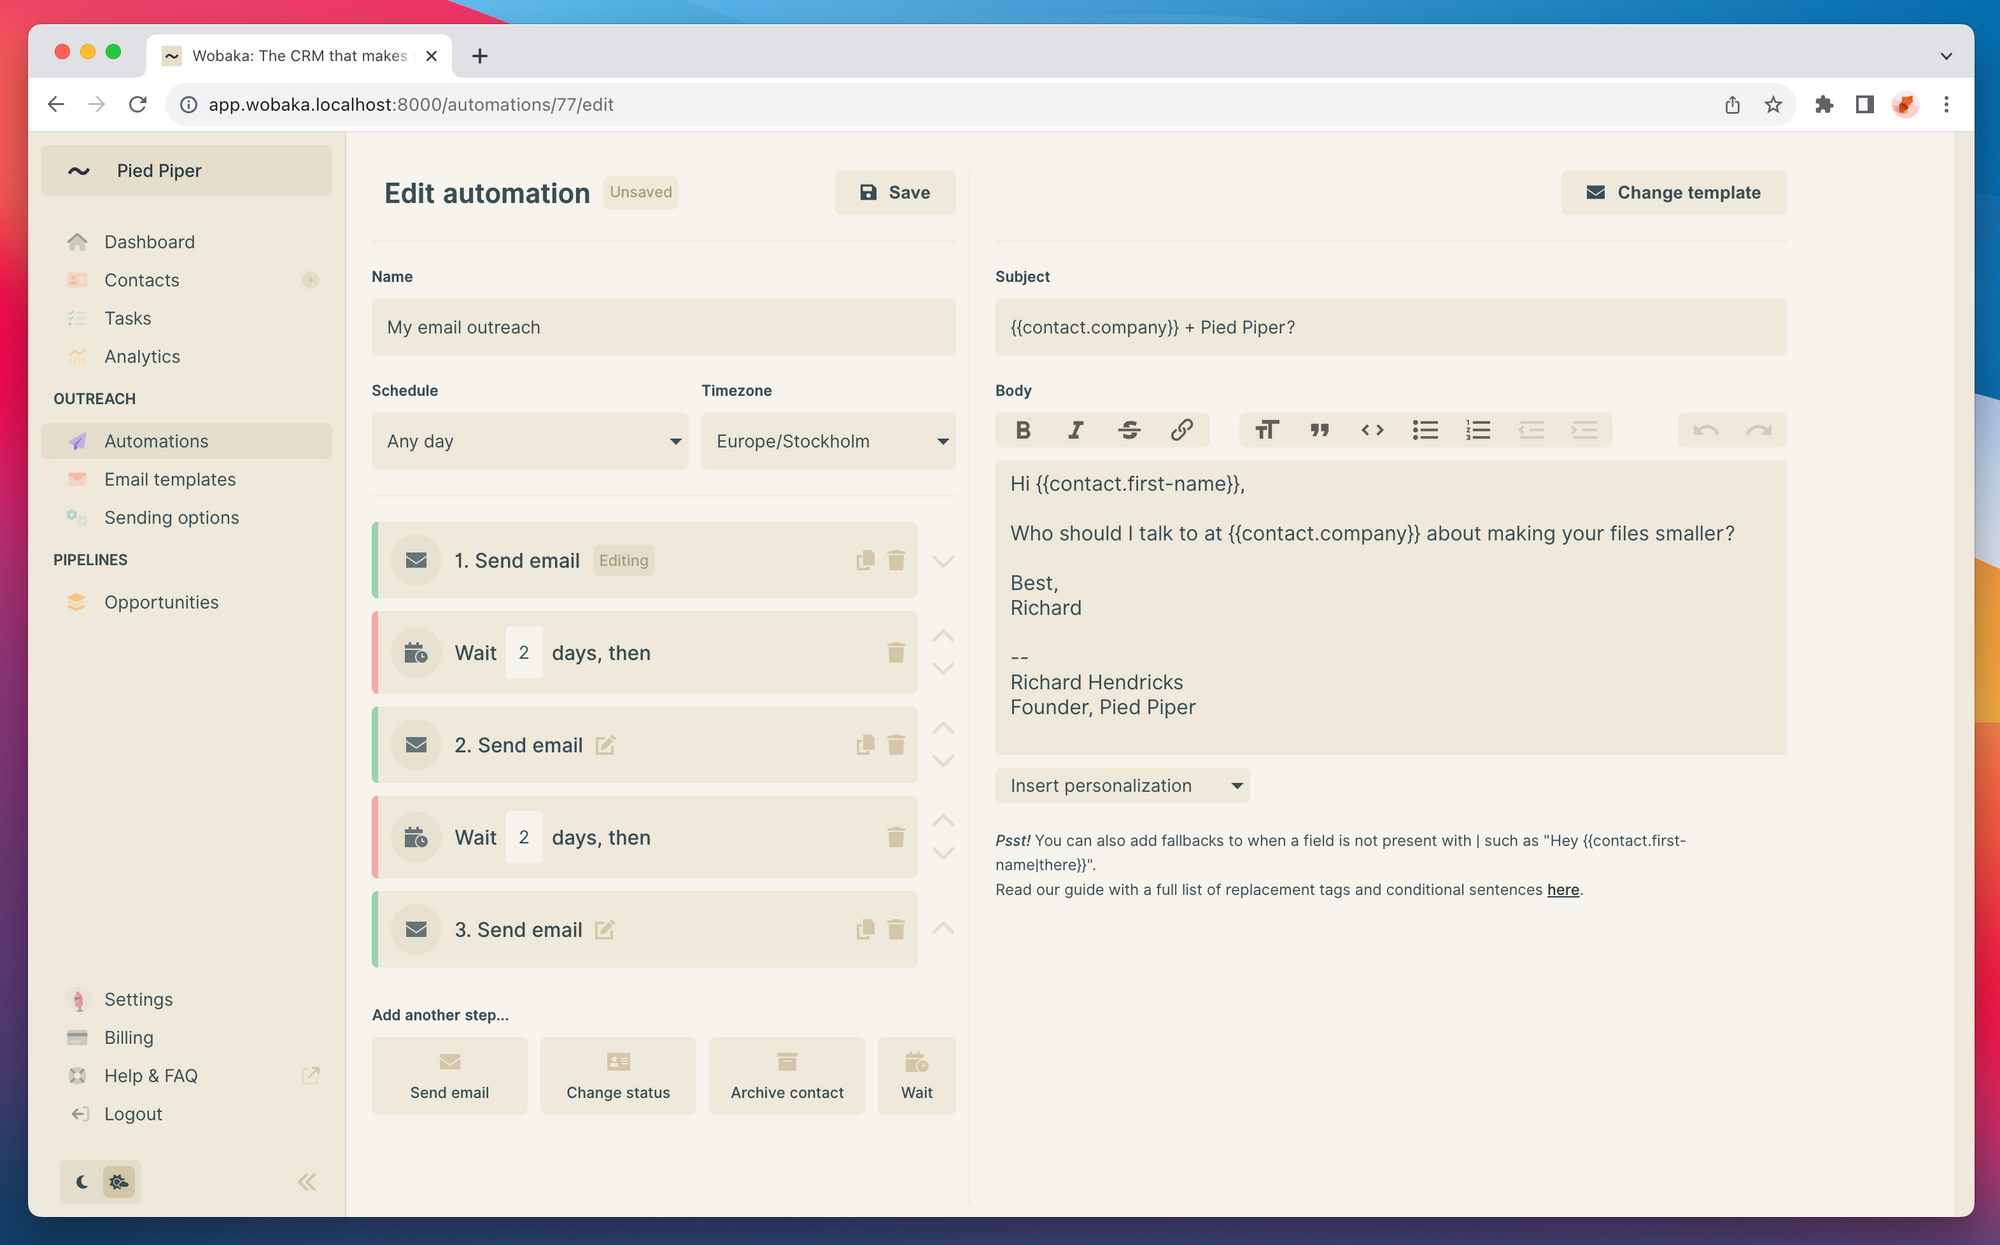
After choosing a name and sending schedule you can continue with setting up the automation steps. A step can be either:
- Send email: This step will send an email specified by you. You can choose to send as a new thread or as a reply to your previous email step.
- Change status: Changes the status of the contact.
- Archive contact: Archives the contact.
- Wait: Number of days to wait between steps.
Create a new step by clicking the buttons "Send email", "Change status", etc. You can use the arrows to move steps up and down in order.
When you've created all your steps for the automation you can go ahead and click "Create". Now it's ready to be sent to any contact by just clicking a button.
Customize emails with merge tags
You can make highly personalized emails for your outreach campaigns by using merge tags to include your and your contacts name, company etc. The follow tags are available.
- For the receiving contact:
{{contact.first-name}},{{contact.last-name}},{{contact.company}},{{contact.description}},{{contact.website}},{{contact.address}},{{contact.phone}},{{contact.twitter}}and{{contact.linkedin}}. - For the sending Wobaka user (you):
{{user.first-name}},{{user.last-name}},{{user.company}}
This makes it easy to create subjects like MyCompany + YourCompany as well as using the contacts first name and company name in your email.
You can type the tags in directly, or use the Insert personalization button.
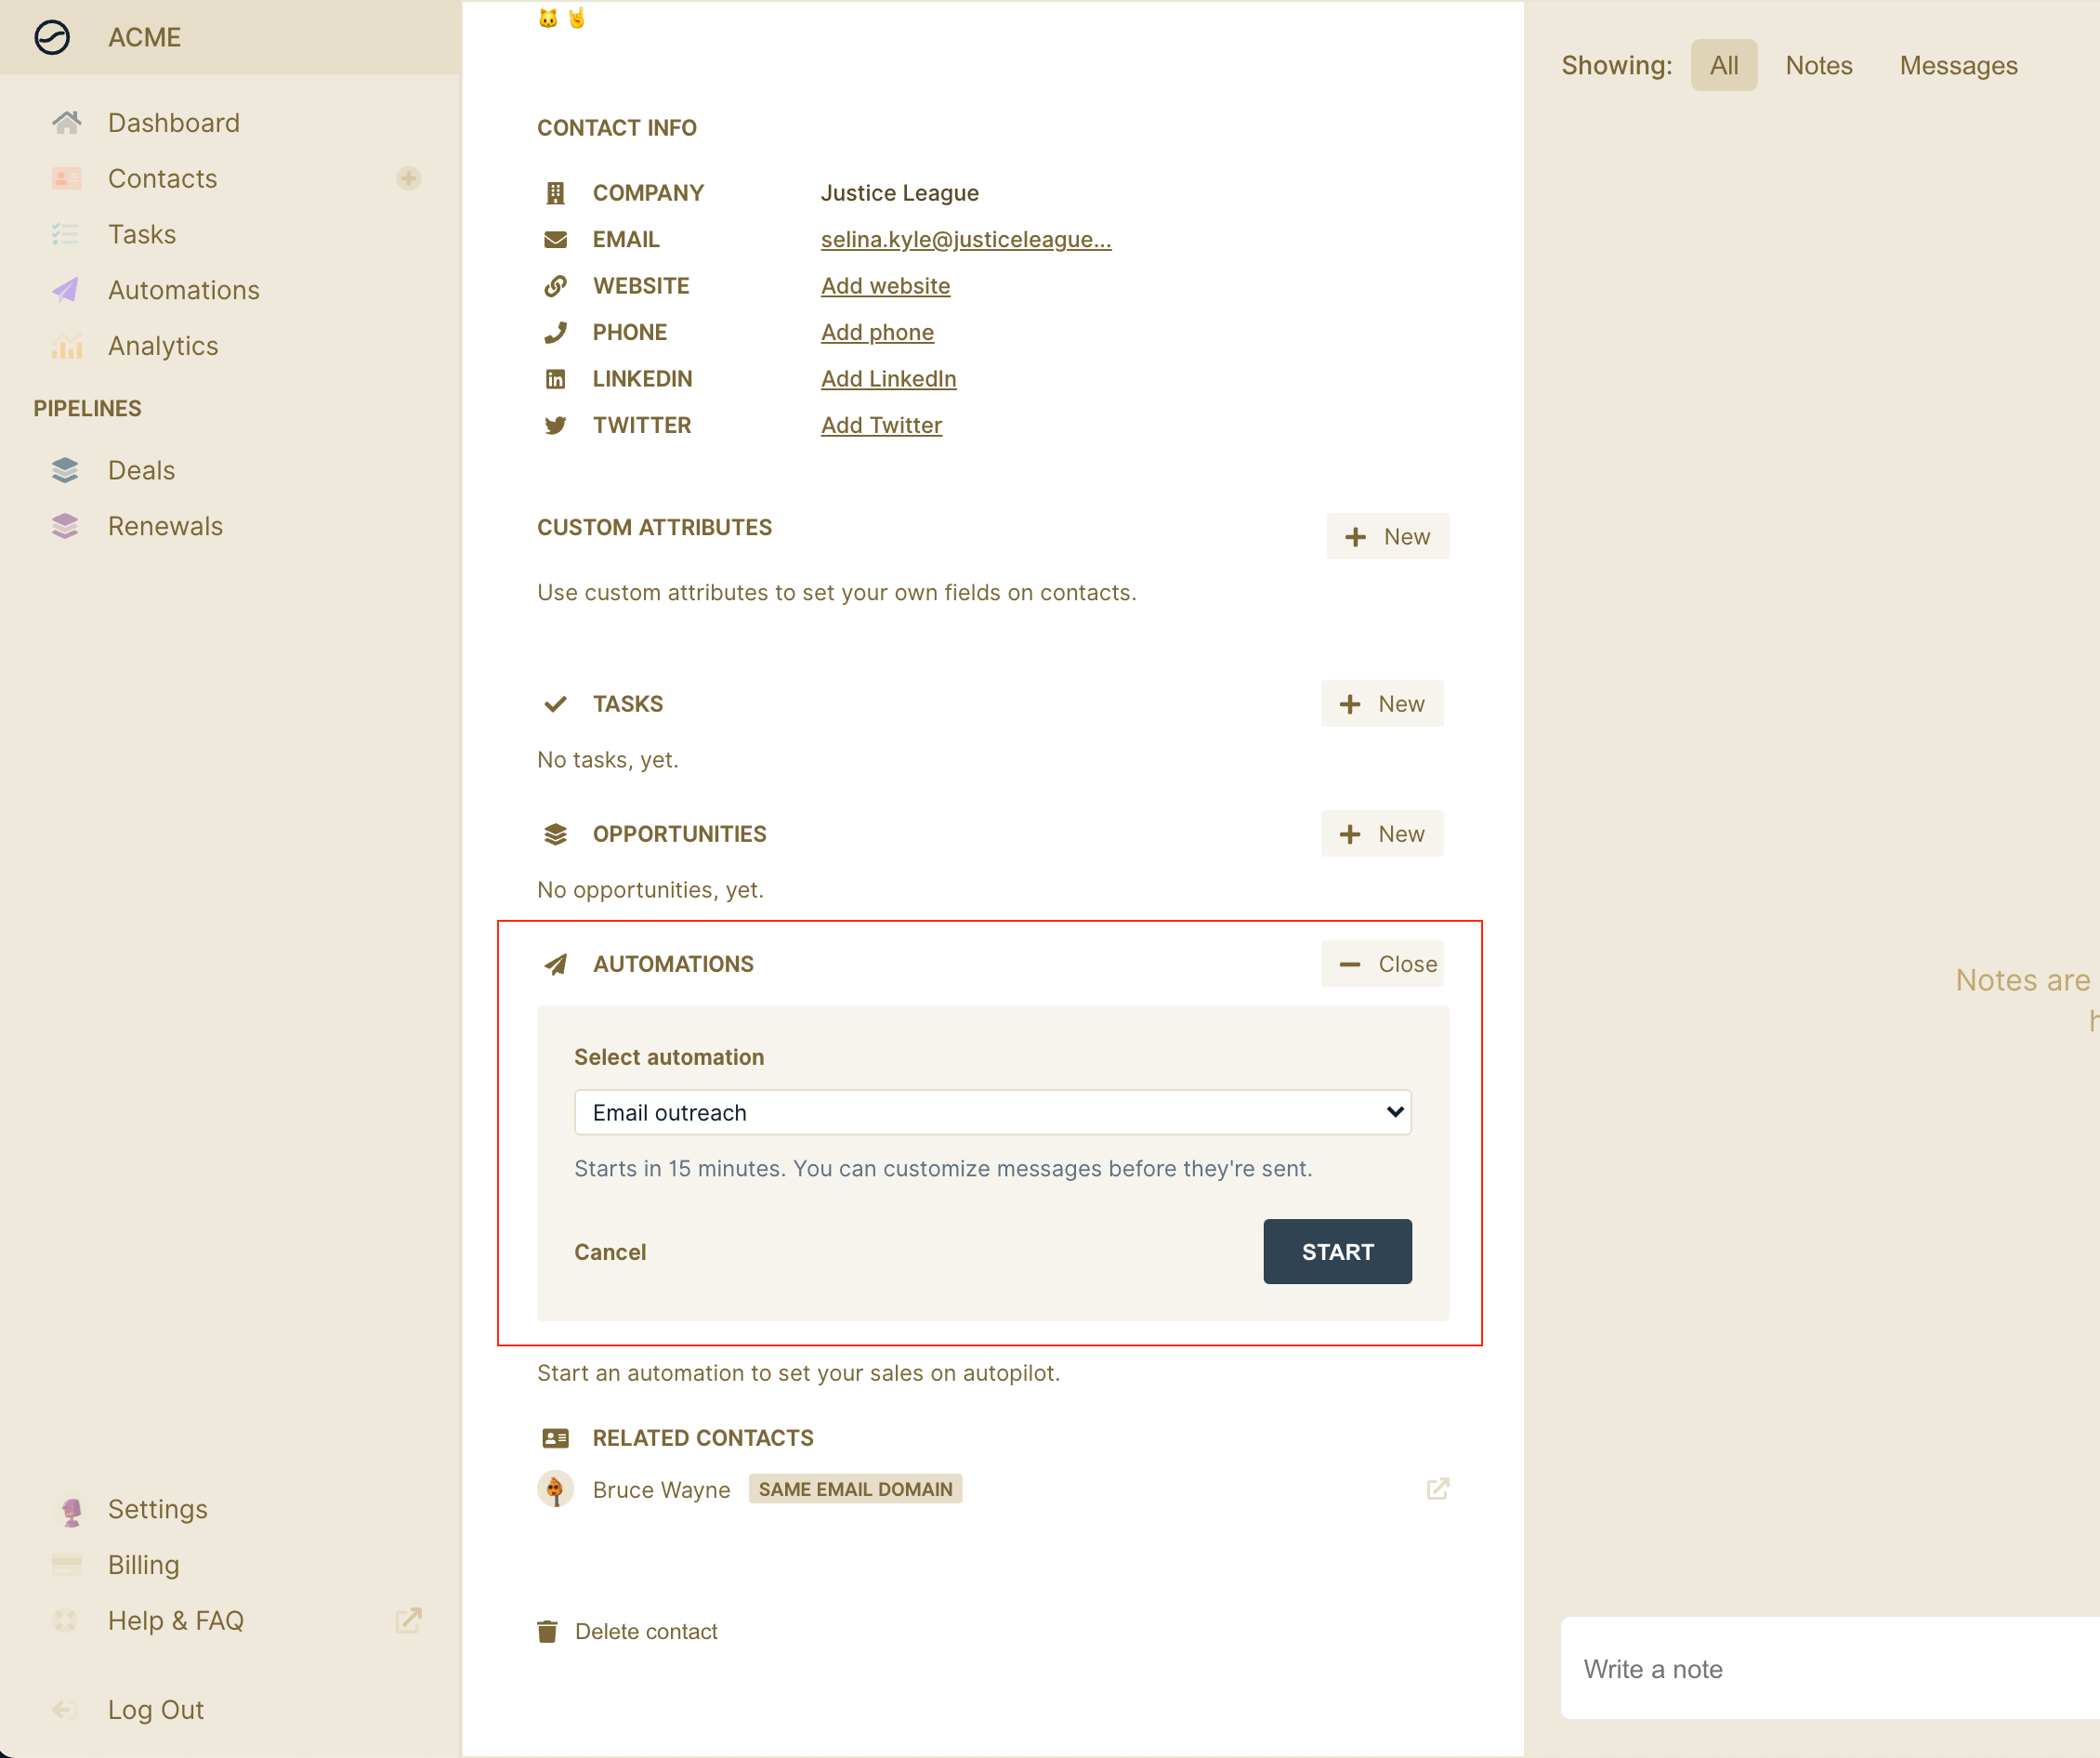
Send automation to contact
Starting an automation on a contact is as easy as pressing play. Just head over to the contact, select the automation and click "Start".

Customize emails for sending
Once you're automation you still have the option to customize your emails for just this contact. This makes it super easy to create highly personalized outreach campaigns.
Emails that have not yet been sent have a future sending date and will appear in blue. Just click the edit button to customize.

When you get a reply
When someone has replied to your automation you may want to cancel future steps. This is done by clicking the check icon on the automation, which will mark it as replied. You can also do this when you get a reply after an automation has completed to change the status of the automation from completed to replied.
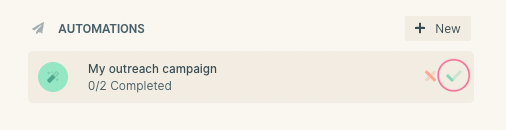
Cancel an automation
Finally, you can also cancel an automation for any other reason by clicking the the cross icon. This will also delete all future steps.

That's it! We hope you'll enjoy saving hours on email outreach, every day 🚀.
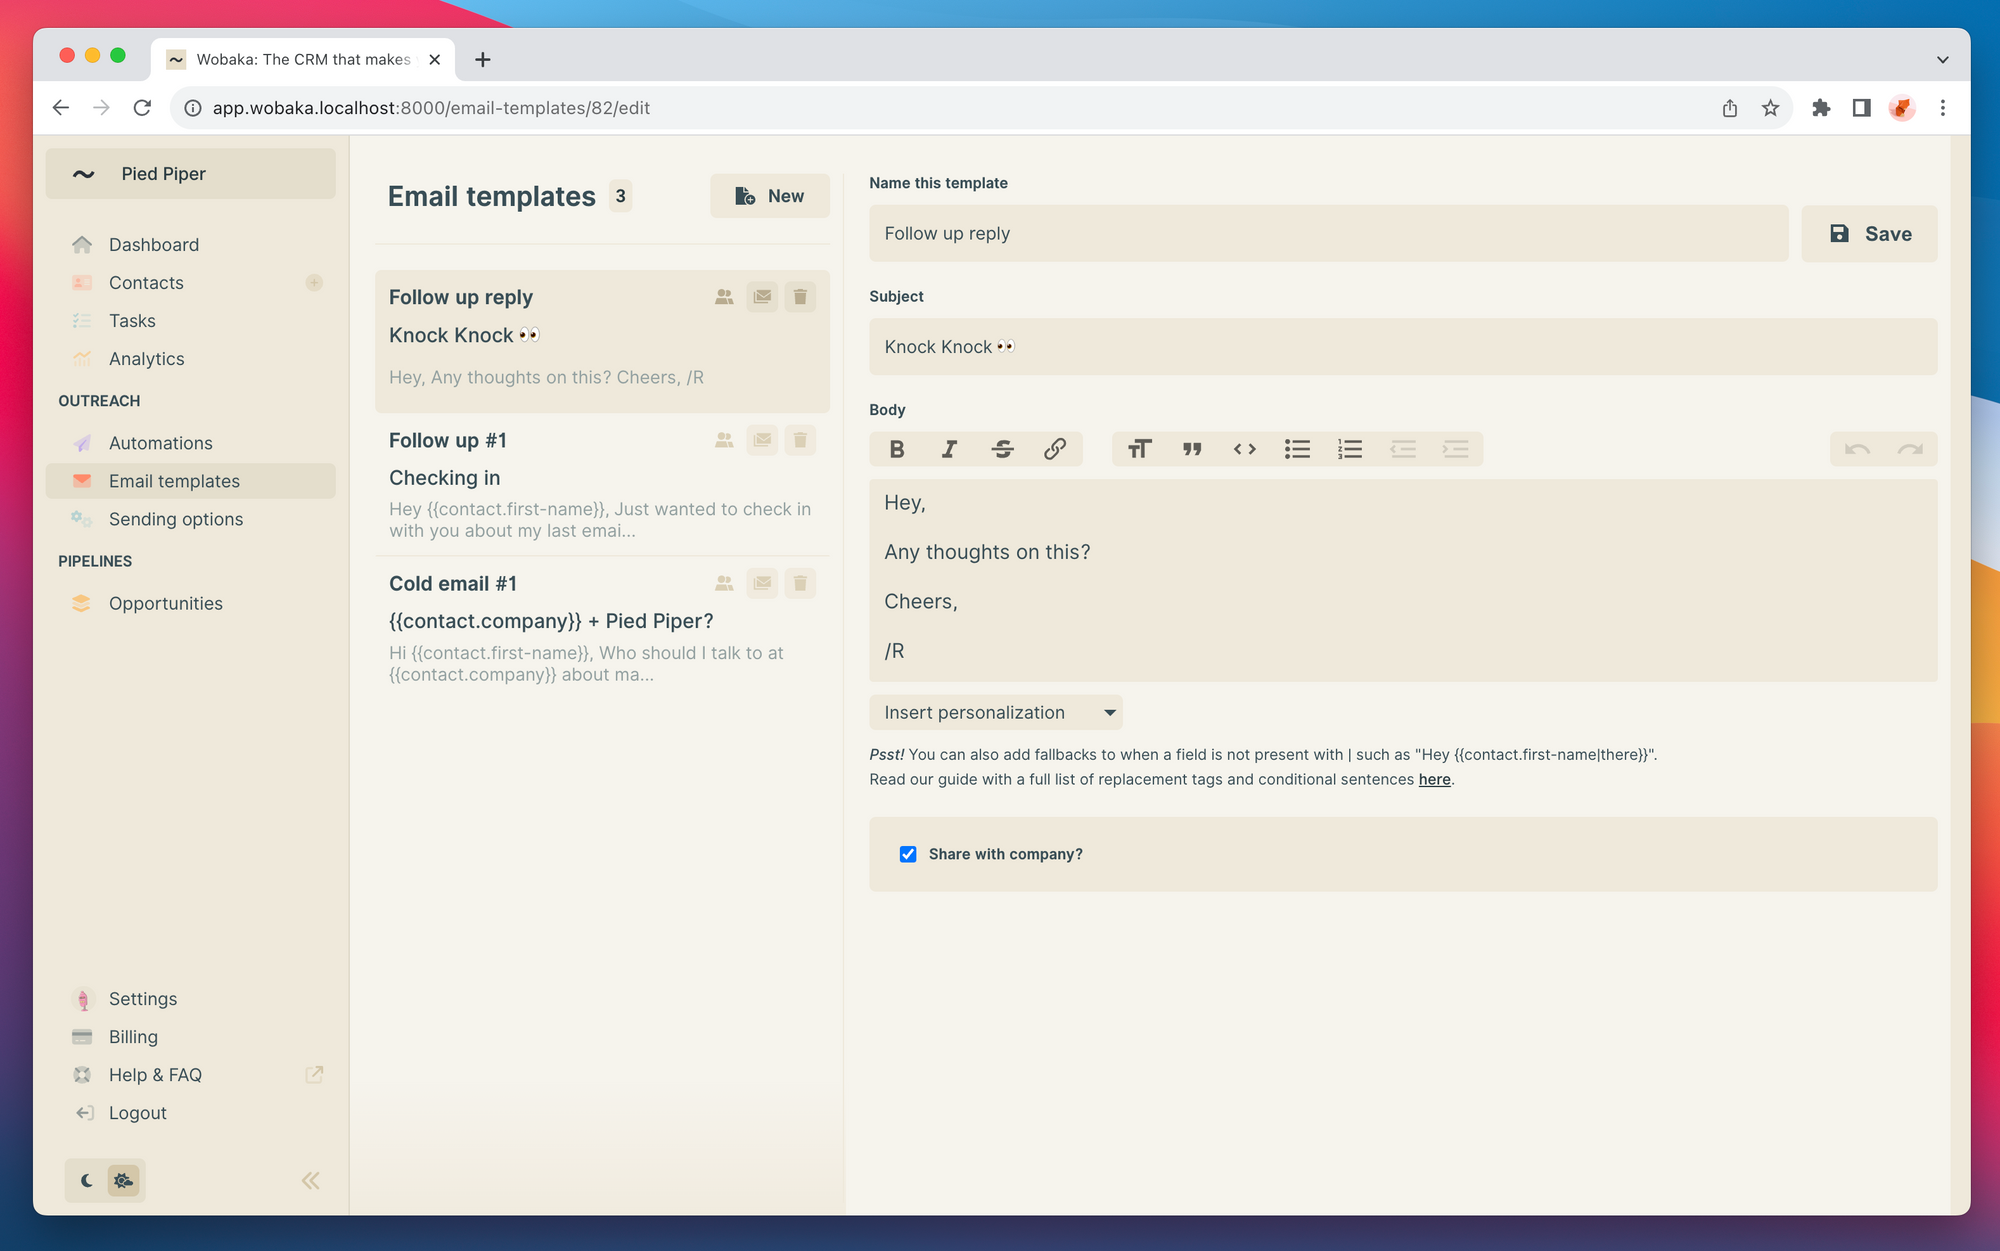
Bonus: Create a email templates for reuse
Setting up automations is much easier when you've already created a few templates to pick from. You can create and manage your email templates under Email templates. You can dive deeper into how merge tags work and other template features here: